Even if the iPhone does not support transferring files directly through USB cable, it is not difficult to save MP3 to the iPhone. In 2024, we have many simple and easy ways to achieve this goal. This article will introduce you to 4 common operation methods to help you solve the problem of how to save mp3 to iPhone. Whether you are using a Mac or Windows system, you can find a solution that suits you. Next, please read on to learn the detailed steps and things to pay attention to for each method to easily transfer MP3 to iPhone.
Method 1. How to Get MP3 to iPhone via AirDrop
AirDrop is a friendly and convenient file transfer tool between Apple’s own devices (iPhone5 or later, Mac after 2012). If you are using the on-demand iPhone and Mac, you can easily transfer MP3 music from your Mac to your iPhone in minutes. But make sure the Wi-Fi and Bluetooth of both devices are turned on and remain within the effective transmission range.
Below are the steps to using Airdrop:
Step 1. Open “Finder” on Mac and find the MP3 file you want to transfer.
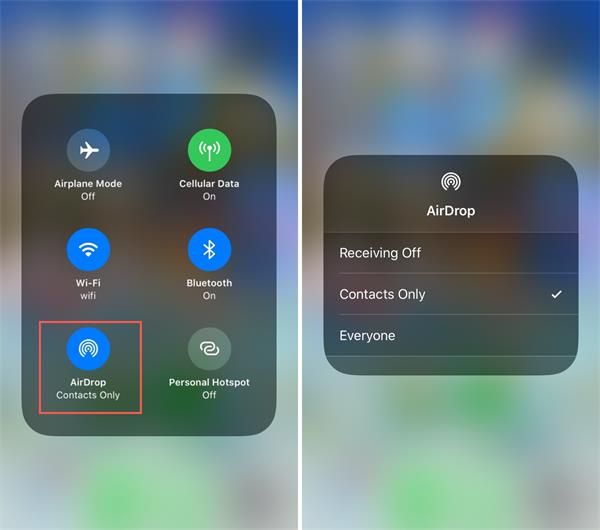
Step 2. Unlock your iPhone and long-press Bluetooth. A window will pop up, then select “AirDrop” in the window and set the reception to be visible.
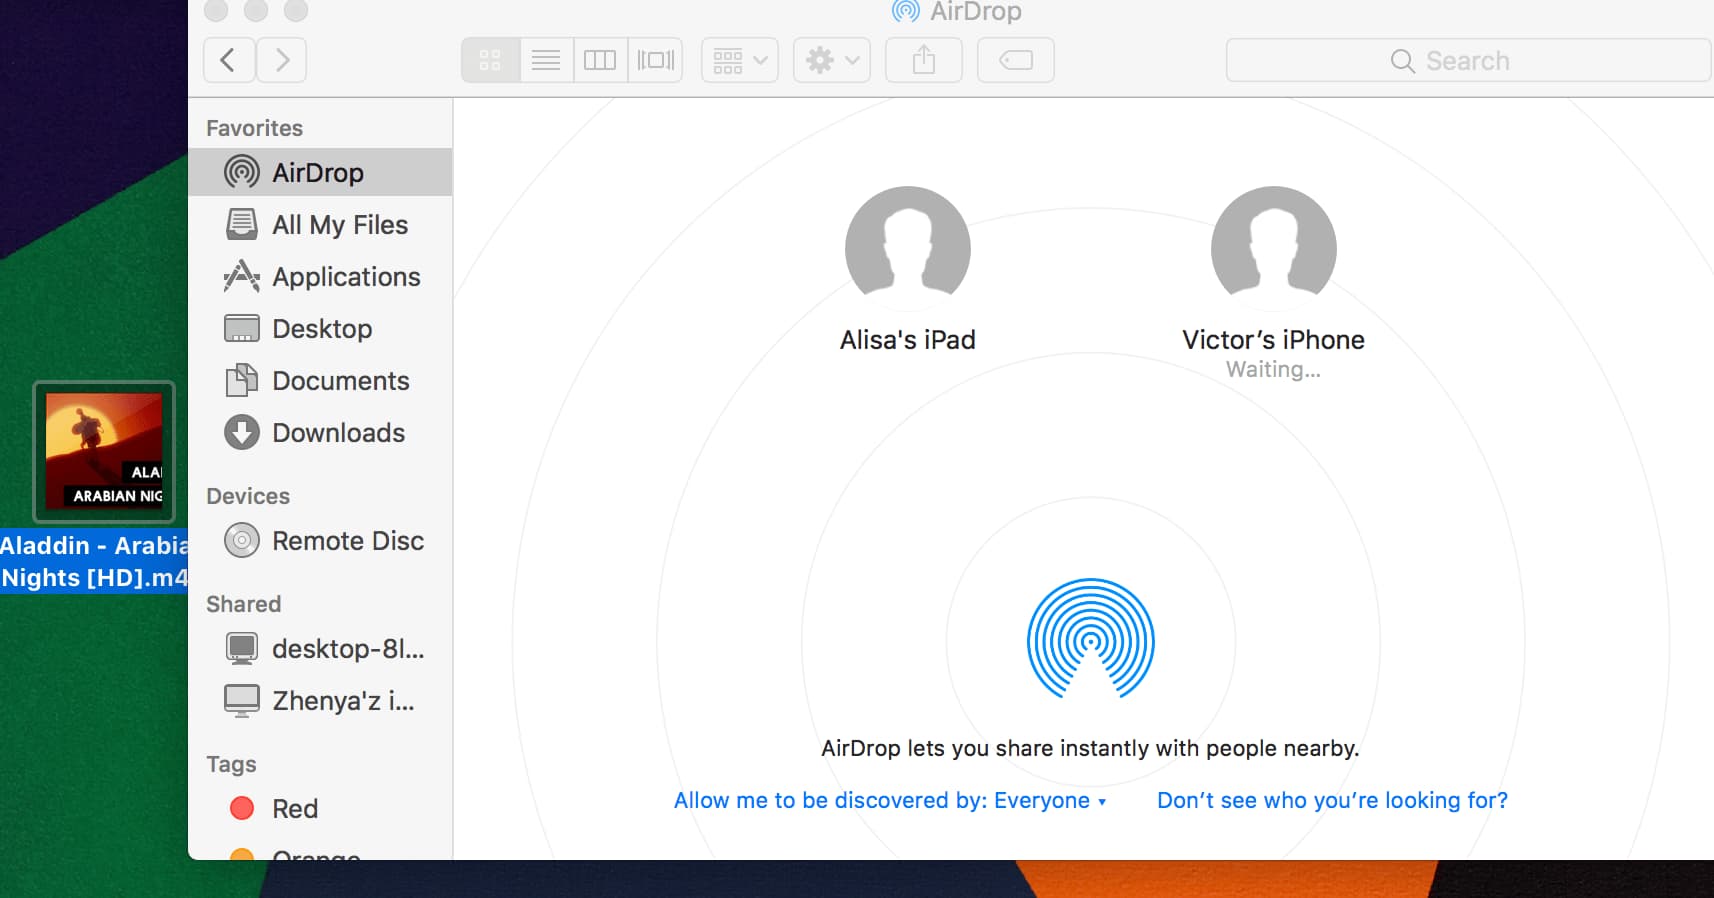
Step 3. Go back to your Mac and select the MP3 file. Then right-click and select “Share”, then click “AirDrop”.
Step 4. Click the name of the iPhone and the transfer will automatically start.
Step 5. Click “Accept” on the iPhone, and the MP3 file will be saved to the “Music” application for you to enjoy at any time.
Method 2. How to Transfer MP3 to iPhone with iTunes
iTunes is another effective transfer tool. It is available on Windows 11/10/8/8.1/7 and macOS Catalina and earlier. Using the latest version of iTunes can avoid compatibility issues and transfer errors, making the entire process smooth. Therefore, it is recommended to update your iTunes to the latest version before you give it a go.
Check the step-by-step guide on transferring MP3 to iPhone with iTunes:
Step 1. Open iTunes on your computer and connect your iPhone.
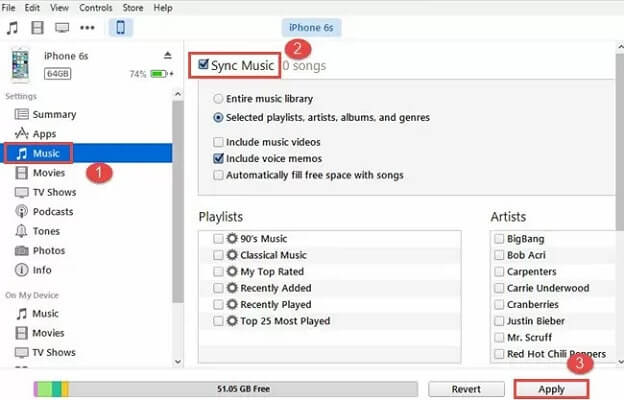
Step 2. Click the iPhone icon, then select “Music”, check “Sync Music” and select the MP3 files you want to sync.
Step 3. Drag MP3 files from your computer to the “Music” library in iTunes.
Step 4. Click the “Apply” or “Sync” button, iTunes will transfer the MP3 files to your iPhone, and view them in the “Music” app when completed.
Method 3. How to Save MP3 to iPhone without iTunes
The operating process of iTunes may be some kind of complicated for beginners. Or if your device doesn’t support iTunes, don’t worry, there are easier ways to transfer MP3 files to your iPhone. That is to use the iOS transfer tool.
FonePaw iOS Transfer is a powerful tool to transfer MP3 files between PC and iPhone without iTunes easily. This tool allows cross-platform data transfer, supporting data transfer between iOS-iOS, iOS-Windows, and iOS-Mac. Its interface is simple and direct, and users can use FonePaw to complete the transfer in a few steps alone without the assistance of others. In addition, it can also quickly batch transfer with one click, which is very convenient.
Key features of FonePaw iOS Transfer
-
Supports transfer files across platforms (iOS-iOS, iOS-Windows, iOS-Mac).
-
In addition to MP3, you can also transfer photos, videos, contacts, and other file types.
-
Allows you to preview files before transferring to ensure correct selections.
-
Able to stably transfer large files quickly, saving time.
-
100% Safe to use.
Step 1. Download and install FonePaw iOS Transfer on your computer, open the program, and connect your iPhone with a USB cable.
Step 2. The program will automatically detect and display device information, select the “Music” option.
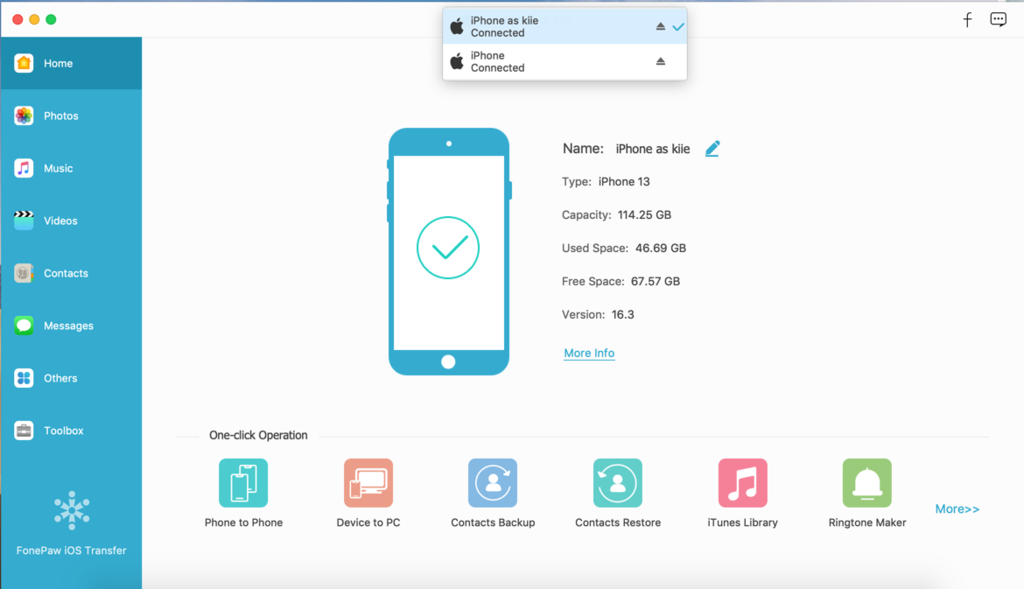
Step 3. Click “Add File”, browse and select the MP3 file you want to transfer, and the program will display a file preview.
Step 4. After confirming the selection, click “Import to Device” and FonePaw iOS Transfer will automatically transfer the MP3 files to your iPhone.
Method 4. How to Put MP3 to iPhone via iCloud
With iCloud you can also easily transfer MP3 music files to your Phone. It should be noted that in this method, your MP3 files will be stored in the Files App. So please make sure all devices are logged in to the same iCloud account to ensure smooth synchronization of files.
The following are the steps to using iCloud to save MP3 to iPhone.
Step 1. Open iCloud Drive on your computer and add your MP3 files to the music library.
Step 2. Enable “iCloud Drive” in “Settings” on your system and iPhone. Make sure to use the same iCloud account.
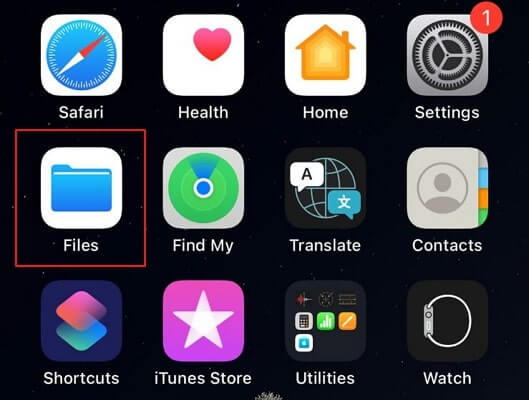
Step 3. Finally, open the Files app on your phone, find the previously uploaded MP3 file and download it locally.
Conclusion
There are many methods to choose from to transfer MP3 songs to iPhone. Whether it is using wireless transmission AirDrop, classic iTunes synchronization, professional iOS transfer tools such as FonePaw, or subscribing to Apple Music service, each method has its own benefits.
Among them, FonePaw iOS Transfer is particularly powerful. It is not only compatible with various iOS devices and system versions, but can also freely transfer files between different platforms, supporting multiple formats such as music, videos, photos, etc. The most important thing is that the entire process is safe and reliable, with no hidden dangers. If you find iTunes too complicated to use, then FonePaw is definitely your best choice.
Now that you have learned how to save MP3 to iPhone, choose the most suitable way to save MP3 to your iPhone!